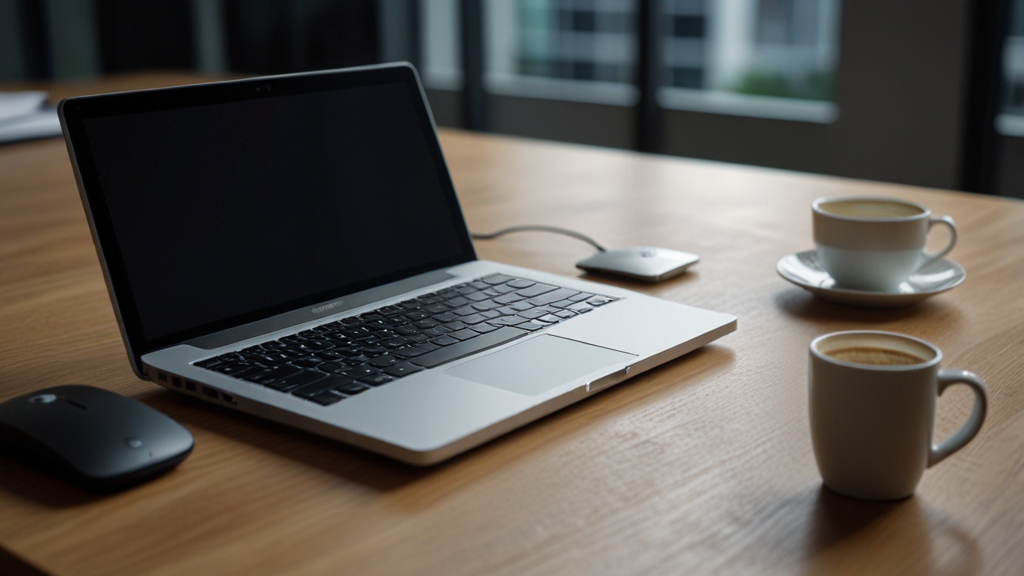
Connecting an external monitor to a laptop is an excellent way to expand your workspace and increase productivity. Whether you work remotely, do video editing, or simply want more screen space, an additional monitor can significantly improve your work. In this article, we will tell you about all the ways to connect an external display and provide practical tips for configuration.
Types of ports and cables for connection
First of all, you need to understand what ports are available on your laptop. Modern laptops are usually equipped with several port options, each with its own characteristics and purpose. Knowledge of these ports is critical for choosing the right cable and monitor.
The most common port is HDMI (High-Definition Multimedia Interface). It supports simultaneous transmission of video and audio and is found on virtually all modern laptops. HDMI has several versions (1.4, 2.0, 2.1), and each version supports different resolutions and refresh rates. For example, HDMI 2.1 can transmit a signal at 4K resolution at 60 Hz, which is ideal for working with high-quality content.
DisplayPort is another popular standard often found on high-end laptops and professional machines. DisplayPort typically provides better bandwidth than HDMI and allows you to connect multiple monitors simultaneously using the Daisy Chain technology. USB-C ports on modern laptops often support video signal transmission using DisplayPort or HDMI standards through a technology called Alt Mode. This makes USB-C a universal port that can be used to connect a monitor, charge, and transfer data simultaneously.
Older laptops may be equipped with VGA or DVI ports, but these technologies are already outdated and rarely found on new devices. If you have a laptop with such ports, you will need a special adapter to connect a modern monitor.
Step-by-step connection via HDMI
Connecting via HDMI is the simplest and most common way to attach an external monitor to a laptop. This process does not require special skills and takes only a few minutes. First, you should make sure that both the laptop and monitor are turned off, although in practice this requirement is less strict with modern devices.
Take an HDMI cable — make sure it is in good condition and has no visible damage. Connect one end of the cable to the HDMI port on your laptop and the other end to the corresponding port on the monitor. HDMI connectors have a tight fit, so you may need to apply a small amount of force to fully connect the cable. After that, connect the monitor to the power outlet and turn it on.
Turn on your laptop or, if it is already on, the system should automatically detect the connected monitor. In most cases, Windows or macOS automatically adjust the resolution and refresh rate appropriately. If this does not happen, you can manually adjust the display settings. On Windows, this is done through Settings — System — Display, and on macOS through System Preferences — Monitors.
If the monitor still does not display an image, try reconnecting the HDMI cable or restart your laptop. Sometimes updating the graphics adapter drivers also helps. Make sure the HDMI cable is working properly by trying to connect it to another device.
Using USB-C and adapters
Modern ultrabooks and laptops are increasingly equipped with USB-C ports only, which requires the use of adapters to connect monitors with standard HDMI or DisplayPort connectors. Although this may seem more complicated, in practice it provides greater versatility and flexibility in port usage.
USB-C adapters are available in various configurations. There are USB-C to HDMI adapters, USB-C to DisplayPort adapters, as well as universal docks that contain several different ports. When choosing an adapter, make sure it supports your USB-C version and the resolution you require. Low-quality adapters can cause display problems or unstable monitor operation.
The process of connecting via a USB-C adapter is practically identical to connecting via HDMI, with the only difference being that the cable first goes into the adapter and then to the monitor. One of the advantages of USB-C is that many monitors support direct connection via USB-C, which eliminates the need for an adapter and allows simultaneous transmission of video signal and laptop charging. This is especially convenient for mobile professionals.
If you frequently connect to external monitors, it is recommended to purchase a quality adapter from a well-known manufacturer. Cheap adapters from unknown brands can be unstable and create compatibility issues. Information about certified cables can be found on the official DisplayPort website.
Configuring resolution and monitor placement
After successfully connecting an external monitor, you may need to adjust its resolution and placement relative to the built-in laptop screen. Most operating systems have convenient tools for such configuration that allow you to make optimal use of screen space and increase productivity.
In Windows, go to Settings — System — Display. Here you will be able to see both monitors and select the resolution for each of them. It is recommended to select the recommended resolution, which is usually optimal for image quality. You can also adjust the monitor orientation (landscape or portrait) and brightness for each display separately.
An important feature is monitor placement. Windows allows you to drag visual representations of monitors in the settings window to match their physical location on your desk. If you have placed the external monitor to the right of your laptop, make sure this is reflected in the settings. This is critical for comfortable work, as it allows you to smoothly move the mouse cursor between monitors.
On macOS, similar settings are found in System Preferences — Monitors. If you want to use the external monitor as the primary display, you can disable the laptop’s built-in screen. Additionally, macOS has a Night Shift feature that allows you to reduce blue light and reduce eye strain when working during dark hours.
Solving common problems
Despite the simplicity of connecting an external monitor, sometimes various problems arise that can interfere with normal operation. Knowing how to solve these problems will help you get back to work quickly and avoid unnecessary stress.
One of the most common problems is when the monitor is not detected by the laptop. In this case, first try reconnecting the cable and make sure the monitor is on and the correct input port is selected. Then restart your laptop. If this doesn’t help, update your graphics card drivers by downloading them from the manufacturer’s official website (NVIDIA, AMD, or Intel). Outdated or corrupted drivers are often the cause of problems with external displays.
If the image on the monitor is blurry or has the wrong resolution, this usually means an incorrect resolution is set. Go to the display settings and select the recommended resolution. If the recommended resolution causes problems, try other available options. Also make sure the HDMI cable is connected tightly and is not damaged.
Refresh rate problems can cause screen flickering or other artifacts. In the display settings, you can change the refresh rate. For most everyday tasks, 60 Hz is sufficient, but if you work with video or play games, a higher refresh rate is recommended. A poor quality cable or weak adapter may not support high refresh rates, so in this case it is recommended to purchase a better quality cable or adapter.
Connecting an external monitor to a laptop is a simple and effective way to increase your productivity and expand your workspace. Whether you use HDMI, DisplayPort, or USB-C, the connection process is intuitive and takes only a few minutes. By properly configuring the resolution and monitor placement, you will get a convenient and functional workspace that will significantly simplify your work.