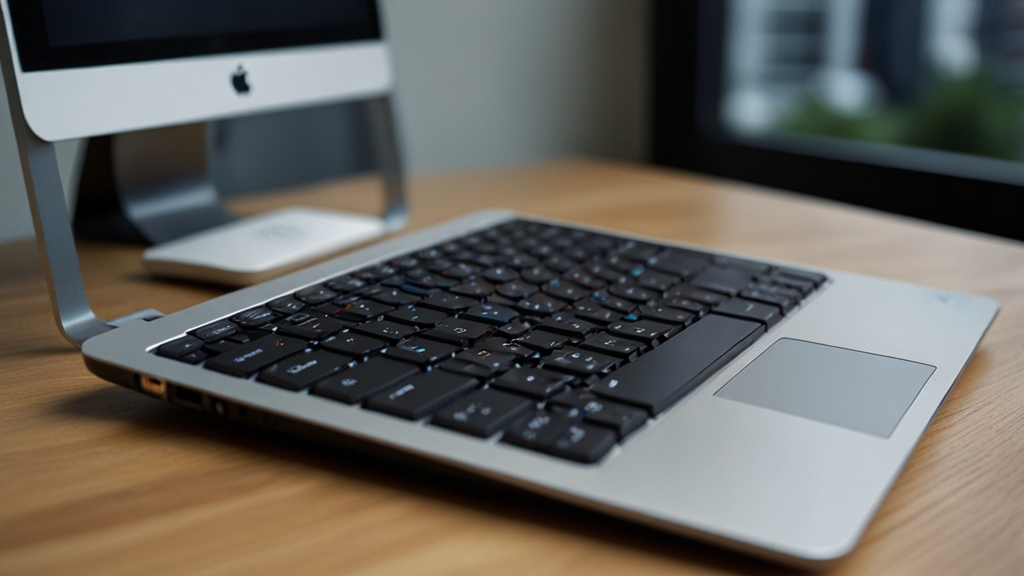
Over time, any laptop accumulates dust, which clogs ventilation openings and reduces cooling efficiency. This leads to component overheating, reduced performance, and even premature device failure. In this article, we will thoroughly examine how to disassemble a laptop yourself for cleaning without damaging its components or losing the device warranty.
Preparing for Laptop Disassembly
Before starting to disassemble your laptop, you need to conduct thorough preparation. First, make sure the device is completely powered off and has cooled to room temperature. Hot components can cause burns, and working with a powered-on laptop risks electric shock and short circuits. It is recommended to leave the device powered off for 30-60 minutes after the last use.
Second, prepare your workspace. Choose a clean, well-lit surface, preferably an anti-static mat or a simple wooden board. Avoid working on carpets and other surfaces that accumulate static electricity. Remove metal jewelry, bracelets, and rings – they can accidentally short-circuit and damage electronics. If necessary, use an anti-static wrist strap, which is worn on the wrist.
Gather all necessary tools and materials before starting work. You will need screwdrivers (Phillips and Torx), plastic pry tools for separating the chassis, containers for storing screws, a can of compressed air, soft brushes, and cleaning cloths. If you don’t have special tools, you can use an old credit card instead of a plastic pry tool. It is also recommended to watch a video tutorial for your specific laptop model – this will save time and help you avoid mistakes.
Battery Removal and Power Disconnection
The first and most important step is to completely disconnect the laptop’s power. Simply turning off the device is not enough – you need to remove the battery if it is removable. On modern laptops, the battery is often built into the chassis, but if you have an older model, it can be easily removed from the bottom. Slide the retaining clips and carefully pull out the battery. After that, press the power button several times to discharge any remaining electricity in the capacitors – this is an important safety measure.
If the battery is built into the chassis, you will still need to disconnect the power on the motherboard. To do this, find the BIOS reset button (usually labeled as CLR_CMOS or RTC) and press it for 10-15 seconds. This will discharge the power capacitors and ensure safety during disassembly. If you don’t know where this button is located, refer to your laptop’s user manual or search for information on the manufacturer’s website.
After disconnecting the power, leave the laptop for 5-10 minutes to ensure that all capacitors are fully discharged. This simple action significantly reduces the risk of damaging electronics during disassembly. Check that there are no power indicators lit – they should not be glowing. Only after this can you proceed to the next stage of disassembly.
Removing the Access Cover and Disassembling the Chassis
On most laptops, the bottom part of the chassis consists of several panels that are secured with screws. Flip the laptop over and locate all screws on the bottom panel. Usually they are the same size, but sometimes there are screws of different types – be sure to remember or note the location of each screw so you can install them back in place. It is recommended to arrange the screws in containers or on a sheet of paper on which you’ve drawn a diagram of the laptop chassis.
Carefully unscrew all the screws and set them aside in a safe place. Use the correct screwdriver size – a screwdriver that is too large or too small can damage the screws or cause them to be lost. After removing all screws, begin carefully separating the bottom chassis panel. Use a plastic pry tool to avoid damaging the plastic. Insert the tool into the gap between the panels and carefully pry them apart. Do not rush – the panel may be secured with clips and needs to be separated evenly from all sides.
After removing the bottom panel, you will have access to the laptop’s internal components. Before starting the cleaning, carefully inspect the inside and take a photo of the cable and component layout. This will help you properly reassemble the laptop after you’re done. Pay special attention to the location of hard drives, RAM, and other modules that you might accidentally move. More detailed information about the internal structure of your laptop model can be found on the ManualsLib website.
Cleaning Fans and Radiators
The main source of cooling problems is dust accumulation in the fans and radiators. Start by carefully cleaning the fan with a can of compressed air. Hold the can upright and make short bursts of compressed air. Direct the air flow onto the fan blades to remove dust. Do not spin the fan by hand with air – this can damage the bearings. If dust is stuck tight, use a soft brush to loosen it, then blow air again.
Radiators require special attention, as dust in them is the main cause of overheating. Use a can of compressed air to remove dust from the aluminum fins of the radiator. Direct the air flow from the outside inward so the dust is blown out of the device. If dust is tightly clogged, use a soft brush to loosen it first. Usually several passes are needed to fully clean the radiator.
After cleaning the fans and radiators, pay attention to the thermal paste located between the processor and the radiator. If you are confident in your abilities, you can replace it with fresh paste. Remove the old thermal paste with cotton soaked in alcohol and apply a thin layer of new paste. However, if you are unsure, it’s better to leave this to professionals – improper thermal paste application can lead to overheating.
Reassembling the Laptop and Testing
After completing the cleaning, it’s time to reassemble the laptop. Carefully check that all components are in place and nothing is hanging loose. Make sure the cables are not pinched or damaged. Start by reconnecting the cables – make sure you remember where they connect. Install the bottom chassis panel and begin carefully tightening the screws. Do not tighten the screws too much – they should be secure but not over-tightened, as this can damage the plastic chassis.
Make sure all screws are tightened and the panel sits flush against the chassis. Check that the panel is not protruding and does not form gaps where dust can enter. If the panel does not sit flush, it may mean you forgot something inside the laptop. After assembly, flip the laptop over and reinstall the battery if you removed it.
Now you can turn on the laptop and test its operation. Listen carefully to the sounds – the fan should turn on if the laptop is hot, but should not make strange noises. Check that all keys work and the device boots normally. If the laptop works normally, you have successfully completed the disassembly and cleaning process. It is recommended to repeat this procedure every 6-12 months, depending on the conditions of use.
Disassembling and cleaning a laptop yourself is a completely manageable task that doesn’t require special knowledge or skills. The key is to follow safety precautions, work carefully, and not rush. If you follow our recommendations and pay attention to details, you will be able to significantly extend the life of your device and improve its performance. Don’t hesitate to seek professional help if you feel unsure – component replacement or cleaning services cost less than replacing the entire laptop.