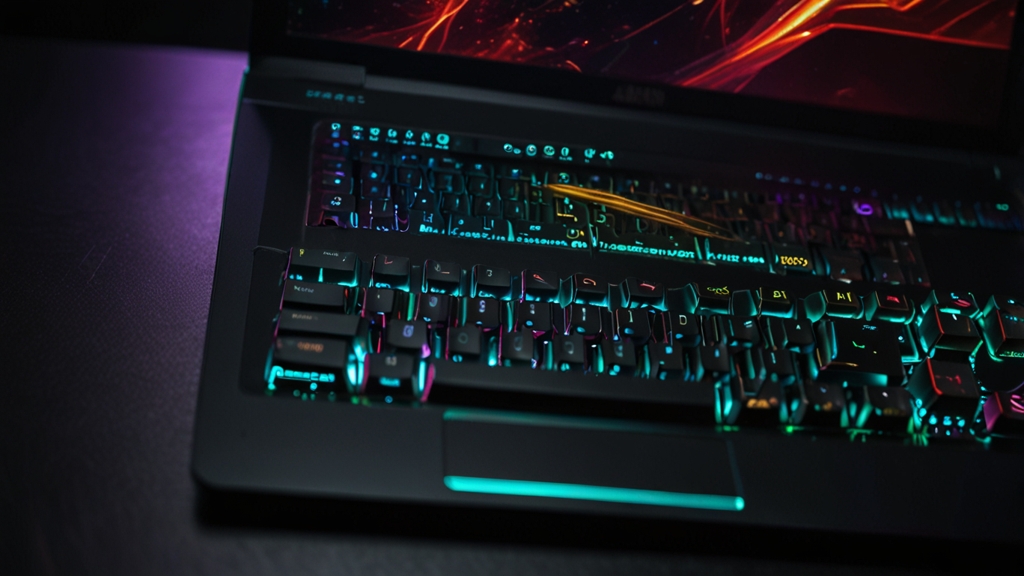
How to Clean a Gaming Laptop Without Damaging It
Gaming laptops are powerful machines, but they’re also prone to accumulating dust, debris, and thermal buildup that can significantly impact performance. If you’ve noticed your gaming laptop running hotter, throttling performance, or sounding like a jet engine, it’s probably time for a thorough cleaning. The good news? You don’t need to send it to a repair shop. With the right approach and tools, you can safely clean your gaming laptop at home and keep it running at peak performance.
Why Gaming Laptops Need Regular Cleaning
Gaming laptops work harder than standard ultrabooks, pushing their GPUs and CPUs to their limits during intensive gaming sessions. This sustained performance generates substantial heat, requiring robust cooling systems with multiple fans and heatsinks. However, these cooling solutions are dust magnets. When dust accumulates on heatsinks and in fan vents, airflow becomes restricted, causing thermal throttling and reduced frame rates. Regular cleaning prevents these issues and extends your laptop’s lifespan.
Tools You’ll Need
Before starting, gather the following supplies:
- Compressed air can: The most important tool—use short bursts rather than continuous spraying
- Microfiber cloth: For wiping external surfaces without scratching
- Soft-bristled brush: A small brush helps dislodge stubborn dust
- Isopropyl alcohol (90% or higher): For cleaning the screen and trackpad
- Thermal paste: Optional, but recommended if you’re opening the laptop
- Screwdriver set: Usually Phillips head, though some gaming laptops use proprietary screws
- Anti-static wrist strap: Essential if you’re opening the laptop to prevent ESD damage
External Cleaning: Safe and Easy
Start with external cleaning, which requires no disassembly. Power down your laptop completely and unplug all cables. Never clean a powered laptop, as this risks electrical hazards and component damage.
Use compressed air to blow dust from vents and ports. Hold the can upright and use short, controlled bursts rather than continuous spraying. Angle the nozzle to direct dust away from the laptop. Pay special attention to the intake vents near the keyboard and exhaust vents on the sides or back. For stubborn dust, gently use a soft brush with the compressed air simultaneously.
Wipe the exterior housing, keyboard, and trackpad with a slightly damp microfiber cloth. Never spray liquid directly onto your laptop. For the screen, dampen the cloth with a small amount of isopropyl alcohol and gently wipe in circular motions. Avoid excessive pressure that might damage the display. Allow everything to air dry for several minutes before powering on.
Internal Cleaning: When You Need to Go Deeper
If external cleaning doesn’t improve thermal performance, you’ll need to open your laptop. Before proceeding, consult your specific laptop model’s service manual—many manufacturers publish detailed disassembly guides. This step is crucial because every gaming laptop has a unique design.
Before opening your laptop: Power it down completely, unplug the battery if removable, and ground yourself using an anti-static wrist strap connected to a grounded surface. This prevents electrostatic discharge from damaging sensitive components.
Remove the bottom panel by carefully unscrewing all fasteners. Gaming laptops typically have 8-12 screws, and they’re often different sizes—photograph their locations or keep them organized. Store screws in a small container to prevent loss.
Once open, you’ll see the cooling system with heatsinks attached to your GPU and CPU. Use compressed air to blow dust from the heatsink fins, working carefully to avoid bending them. Direct the compressed air away from the laptop’s interior toward the openings. For significant dust buildup, hold the fan blades still with your finger while blowing air—this prevents the fan from spinning too fast and potentially damaging bearings.
If your laptop is several years old or has severe thermal issues, consider reapplying thermal paste. First, carefully remove the heatsinks by unscrewing their fasteners. Gently lift the heatsinks away from the GPU and CPU, then clean the old thermal paste using isopropyl alcohol and a lint-free cloth. Apply a small amount of new thermal paste to the chip surface—about the size of a grain of rice—then reinstall the heatsinks and tighten fasteners carefully, ensuring even contact.
Critical Precautions and Common Mistakes
Never spray compressed air for extended periods, as the propellant can liquefy and damage components. Use short bursts and take breaks between applications. Similarly, avoid touching internal components unnecessarily. The oils on your fingers can cause corrosion over time.
Don’t use a vacuum cleaner around your laptop, even externally. Vacuums generate static electricity that can destroy components. Compressed air is the only safe method for internal cleaning.
When reassembling, double-check that all heatsinks are properly seated before closing the laptop. Improper heatsink contact is a leading cause of thermal problems after DIY cleaning. Verify that all cables are properly reconnected, especially battery and power connectors.
Preventative Maintenance Tips
Maintain your gaming laptop between cleanings by using it on hard, flat surfaces rather than soft furniture where lint accumulates. Avoid eating or drinking near your laptop to prevent crumb accumulation. Consider using a laptop cooling pad with external fans to reduce dust intake and improve airflow. These pads are inexpensive and can significantly extend the time between cleanings.
For more detailed information about GPU thermal management and cooling best practices, check out Tom’s Hardware’s comprehensive guides on laptop cooling systems.
When to Seek Professional Help
If you’re uncomfortable opening your laptop or encounter issues you don’t understand, seek professional assistance. Some gaming laptops have sealed designs or proprietary components requiring specialized tools. Additionally, if thermal problems persist after cleaning, you may have failed fans or bearing issues requiring replacement rather than cleaning.
Conclusion
Regular cleaning is one of the most cost-effective ways to maintain your gaming laptop’s performance and longevity. External cleaning can be done monthly, while internal cleaning every 6-12 months keeps your cooling system functioning optimally. By following these steps carefully and respecting your hardware, you’ll ensure your gaming laptop remains cool and powerful for years to come.